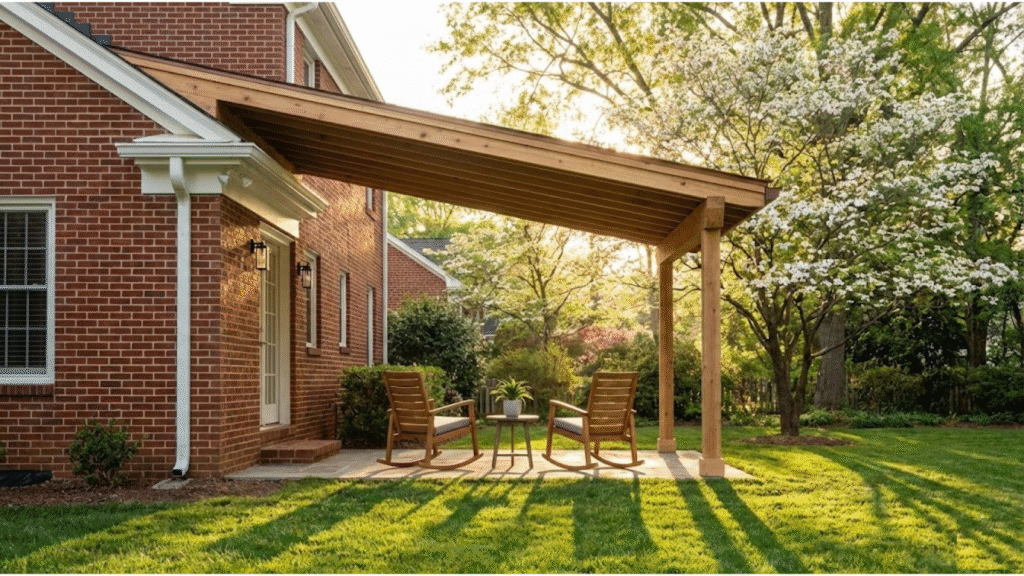
Learn how to install a patio cover that’s sturdy, weatherproof, and perfect for expanding outdoor living space in Charlotte with this clear, step-by-step guide.
You can absolutely install a patio cover yourself in Charlotte, as long as you treat it like a real construction project, not a weekend experiment.
You’ll need a solid plan, a basic understanding of load, and a healthy respect for local codes and permits, especially with our summer storms and occasional ice.
From measuring your existing patio and checking how your house is framed, to choosing posts, beams, and roofing that can handle UV and wind, every step matters.
If you want a patio cover that actually lasts here, not just looks good, keep reading.
Key Takeaways
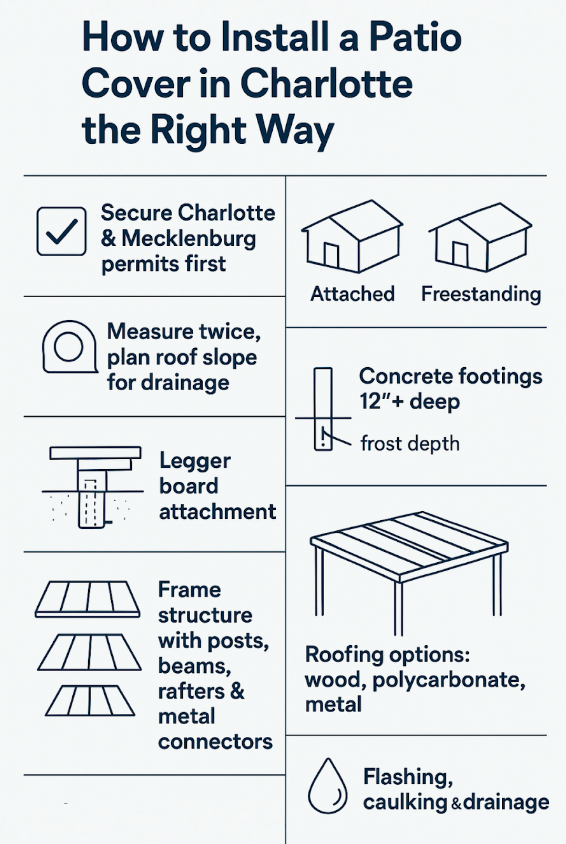
- Secure the required permits from both the City of Charlotte (for zoning/LDIRL review) and Mecklenburg County Code Enforcement (for structural building permits) before you buy a single 2×4.
- A proper roof slope and flashing detail are non-negotiable for keeping your home dry.
- Use the right metal connectors; they are the hidden strength of your patio cover.
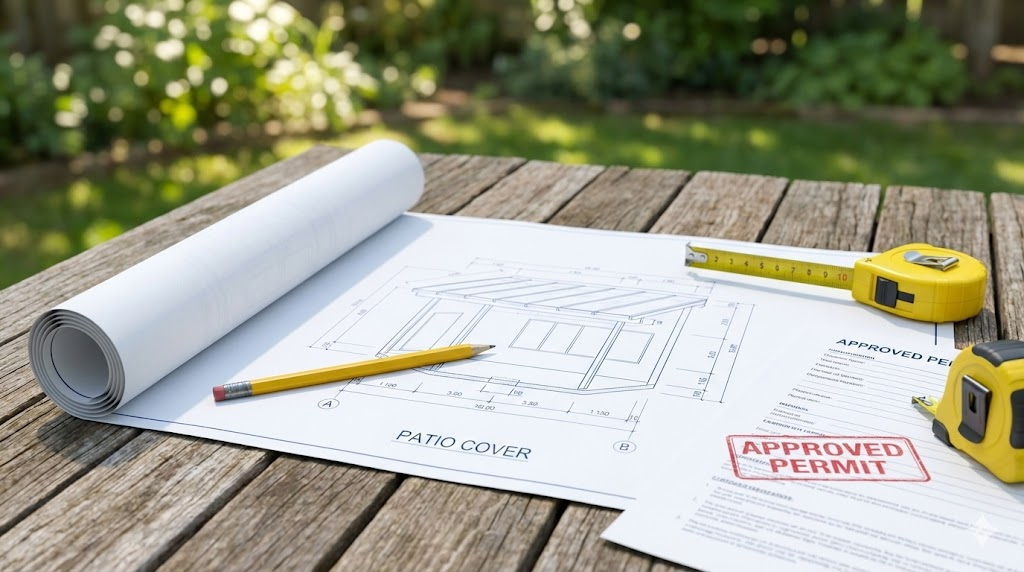
Start with a Solid Plan and the Right Paperwork
Before you even think about digging a hole, you need a plan.
Decide if your patio cover will be attached to your house or freestanding.
An attached cover, often called a lean-to, is common and provides great shelter.
But it also requires a more involved connection to your home’s structure.
A freestanding cover is more independent, which can be simpler in some ways.
Sketch it out.
Mark the post locations, the roof height, and the overall size.
This sketch is your roadmap.
Now, take that plan through Charlotte’s Land Development Individual Residential Lot (LDIRL) review and then submit the structural portion to Mecklenburg County Code Enforcement.
These two offices together determine zoning compliance and building-code approval. [1]
Attached patio covers almost always need one, while smaller freestanding structures may be reviewed under simpler permit categories.
They’ll also specify requirements for things like footing depth, which is crucial for stability.
Don’t skip this step.
An unpermitted structure can cause issues with home insurance, failed inspections, resale, and even fines if the city or county discovers it later.
Determining the best materials for patio covers is part of the plan.
Wood is classic but needs maintenance.
Aluminum kits are low-maintenance and often come with pre-cut parts.
Polycarbonate panels are great for letting in light while blocking UV rays.
Your choice affects the entire build.
- Design Decision: Attached or freestanding.
- Material Choice: Wood, aluminum, or polycarbonate.
- Legal Requirement: Charlotte building permit. [2]
Measure Everything Twice, Especially the Slope
Grab your tape measure and notepad.
Measure the length of your patio and how far out from the house you want the cover to extend.
If you plan to add a roof to a patio for weather protection, calculating the slope is vital.
A flat roof might look nice, but it’s a pond waiting to happen.
You need a minimum slope of about a quarter-inch per foot for water to run off properly.
The Foundation is Everything
A wobbly patio cover is a dangerous one.
The foundation, whether it’s post bases on a concrete slab or footings in the ground, is what keeps it solid.
If you’re building on an existing concrete patio, you’ll use galvanized post anchors secured with concrete anchors.
Drill into the slab, set the anchor, and bolt the post base down.
For posts set in the ground, you’re digging holes and pouring concrete.
In Charlotte, the frost depth is about 12 inches, so footings typically must extend to at least that depth, but inspectors may require deeper footings depending on soil conditions and load.
Always verify with your approved permit plans.
This aligns with local and state code.
Dig your holes, set a cardboard tube form, and pour the concrete.
Then you set your post anchors into the wet concrete, making sure they are perfectly level.
This is slow, precise work.
Rushing it means your whole frame will be out of whack.
Attaching to Your House: The Ledger Board
This is the most critical connection for an attached cover.
You’re fastening a ledger board directly to your house.
This board supports one end of all your rafters.
First, you must find the solid wood framing behind your siding.
A stud finder is your best friend here.
You cannot attach this board to siding or sheathing; it must bolt into the house’s structural framing or rim joist, exactly as building inspectors require for load-bearing ledger connections.
Snap a level line where the top of the ledger will go.
Hold the pressure-treated ledger board in place and mark the stud locations.
Pre-drill holes and secure the ledger with long, thick galvanized lag screws, at least 1/2-inch in diameter, that go deep into the framing.
Then, you must install metal flashing above the ledger board.
This flashing should tuck up under the existing siding or roof edge to divert water away from your house wall.
A leak here can cause serious damage.
Framing Up: Posts, Beams, and Rafters

With the ledger secure and your post footings set, it’s time to stand up the frame.
Cut your posts to the correct height, remembering to account for the slope you planned.
Attach them to their bases.
Then, hoist the main beams into place on top of the posts.
Don’t just toenail them with nails.
Use proper metal post-to-beam connectors.
These brackets are engineered to handle the weight and lateral forces, like wind.
Next, install the rafters.
They will span from the ledger board on your house to the front beam.
Space them typically 16 or 24 inches apart, center-to-center.
Again, use metal joist hangers to attach them to the ledger and the front beam.
This creates a strong, secure skeleton for your roof.
As you go, constantly check for level and plumb.
A small error now becomes a big problem later.
Putting on the Roof
Credits: Utter Gutters
The roofing method depends on your material choice.
If you’re building a wood frame for a solid roof, you’ll lay down plywood or OSB sheathing over the rafters.
Then you’d add roofing felt and asphalt shingles to match your house.
For most patio covers, polycarbonate or metal panels are the way to go.
They’re lighter and designed for this purpose.
Start at one end and work across.
Polycarbonate panels need to overlap each other by about two inches.
Use the special screws with neoprene washers that seal the hole and allow for expansion and contraction in the Charlotte heat.
Don’t overtighten them.
The Final Details Make it Weatherproof
A patio cover isn’t done until it’s sealed and drained.
Go back to that ledger board connection.
Make sure the flashing is seamless and water-tight.
Run a bead of high-quality exterior caulk along any seams or joints.
For larger covers, consider adding a gutter and downspout to the front edge.
This controls rainwater runoff, preventing a waterfall off the roof every time it rains.
Finally, add any diagonal bracing between posts and beams if the structure feels at all flexible.
This bracing prevents swaying.
Give all exposed wood a good coat of exterior stain or paint.
Touch up any scratches on metal components to prevent rust.
FAQ
What should I check before attaching a patio cover to an existing structure?
Before attaching a patio cover to an existing structure, check the roof overhang, wall framing, and how the patio cover roof will connect to the house. Review local building rules and building codes to confirm what is allowed. Make sure the home frame can safely support the extra load to prevent future structural damage or inspection issues.
Do I need permits or inspections for patio covers in my area?
Many cities and counties require permits and inspections for patio covers. Check local building rules and building codes to see what documents, drawings, and site checks are necessary. Some areas require an inspection after concrete footings are placed and again after framing. Following these steps ensures the project is legal and safe for long-term use.
How do concrete footings support a patio cover safely?
Concrete footings support the posts and help the patio cover stay upright and stable. Footings are installed below the ground to prevent shifting caused by weather or soil movement. Local building rules often specify the minimum depth and width. When installed correctly, concrete footings safely transfer the weight of the patio cover roof into the ground without causing foundation problems.
How do I choose the right patio cover roof style?
Choosing the right patio cover roof style depends on how it matches the existing structure and roof overhang. Many homeowners select a design that continues the house roof shape for a consistent look. Local climate and building codes should also guide the decision. A solid roof gives more shade and rain protection, while open designs allow more natural light.
What common mistakes happen when installing patio covers?
Common mistakes include skipping concrete footings, failing to follow local building rules, and attaching to an existing structure that cannot support the added weight. Some installers set posts too shallow or ignore proper roof overhang alignment. Careful planning, accurate measurements, and following building codes prevent early wear, repairs, and safety problems over time.
Enjoying Your Finished Patio Cover
Building a patio cover is a substantial project, but it’s one that can dramatically expand how much you use and enjoy your outdoor space in Charlotte.
With a solid plan, proper permitting, reliable hardware, and attention to weatherproofing details, you’ll end up with a structure that performs beautifully through Southern heat, rain, and summer storms.
Take your time, double-check each step, and your new shade cover will feel just as sturdy and polished as a professionally built one.
Ready to take the next step?
If you’d rather leave the heavy lifting to experts, reach out for professional help, contact Lapis Patios for a quick consultation and a patio cover built to last.
References
- https://www.wbtv.com/2023/01/24/construction-costs-rising-mecklenburg-county/
- https://themarketedge.com/wp-content/uploads/2024/12/residential_building_permit_trend_report_240930_edition_final.pdf